Building a Firebox
It Feels Like Home!
Building a Firebox for Your Smoker: A Step-by-Step Guide.
Building a Firebox, a well-designed firebox is essential for achieving optimal heat control and smoke production in your smoker, resulting in deliciously flavored meats and consistent cooking results. Whether you’re building a custom smoker from scratch or retrofitting an existing grill, constructing a durable and efficient firebox is a worthwhile investment. In this comprehensive guide, we’ll walk you through the process of building a firebox for your smoker, providing detailed instructions and tips to help you create a functional and reliable heating source for your outdoor cooking adventures.
Selecting Materials and Tools:
- Choose heat-resistant materials such as thick steel or cast iron for constructing the firebox, ensuring durability and longevity.
- Gather essential tools including a welder, grinder, drill, cutting torch, measuring tape, and safety gear such as welding gloves and goggles.
Designing the Firebox:
- Determine the size and dimensions of the firebox based on the size of your smoker and desired cooking capacity.
- Design the firebox with sufficient ventilation and airflow to promote efficient combustion and heat distribution.
Preparing the Materials:
- Cut the steel or cast iron sheets to the appropriate dimensions using a cutting torch or grinder, ensuring precision and accuracy in your cuts.
- Grind down any rough edges or burrs to create smooth and seamless joints for welding.
Assembling the Firebox:
- Use a welder to join the individual pieces of the firebox together, ensuring strong and secure seams.
- Weld additional reinforcement plates or braces as needed to strengthen the structure and improve heat retention.
Adding Ventilation and Airflow:
- Cut and weld vents or dampers into the firebox to regulate airflow and control temperature inside the smoker.
- Install a chimney or smokestack to vent smoke and heat from the firebox to the cooking chamber.
Mounting the Firebox to the Smoker:
- Position the firebox adjacent to the cooking chamber of the smoker, ensuring proper alignment and clearance.
- Weld mounting brackets or flanges to secure the firebox to the smoker frame or body, creating a seamless and integrated design.
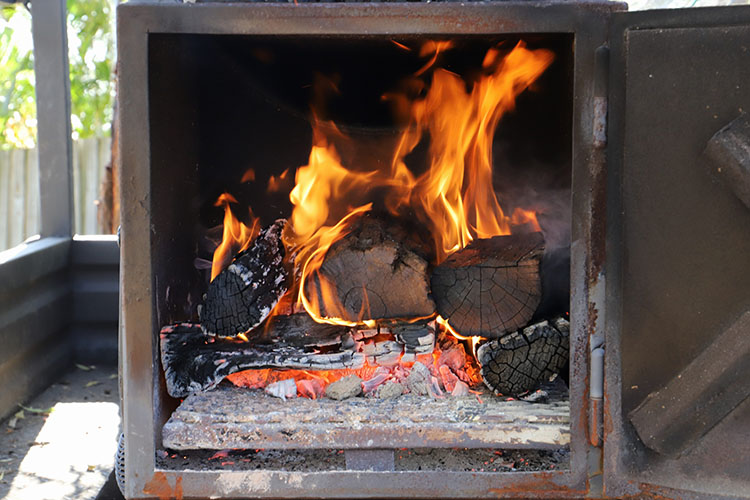
Testing and Finishing Touches:
- Conduct a test burn to ensure proper functioning of the firebox and evaluate temperature control and smoke production.
- Make any necessary adjustments or modifications based on test results, such as tweaking vent positions or adding additional insulation.
- Apply heat-resistant paint or coating to the exterior of the firebox to protect against corrosion and enhance aesthetics.
Maintenance and Care:
- Regularly inspect and clean the firebox to remove ash, grease, and debris that can affect performance and safety.
- Check for signs of wear or damage, such as rust or corrosion, and address any issues promptly to prolong the lifespan of the firebox.
Building a Firebox, following these step-by-step instructions for building a firebox for your smoker, you’ll be equipped to create a reliable and efficient heating source that enhances your outdoor cooking experience. Whether you’re a seasoned pitmaster or a backyard barbecue enthusiast, a well-designed firebox is essential for achieving deliciously smoked meats and mastering the art of barbecue. So roll up your sleeves, gather your materials and tools, and get ready to build the ultimate firebox for your smoke.