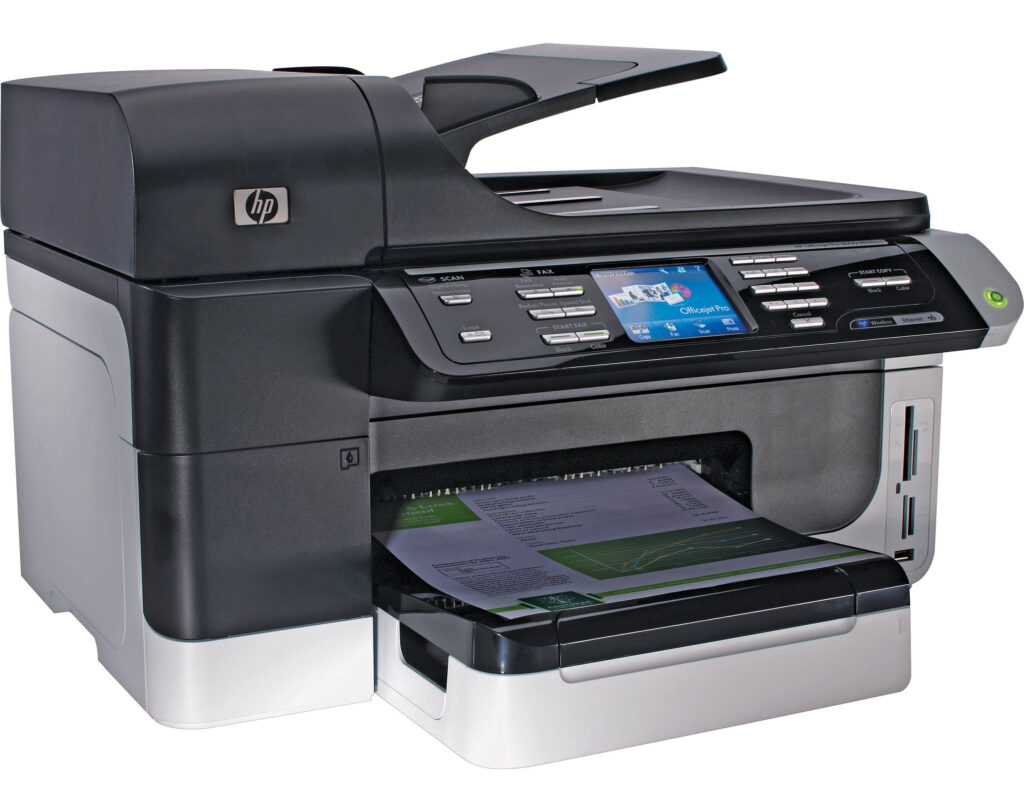
Connecting a Wireless Printer
It Feels Like Home!

Learning Step-by-Step to Connecting a Wireless Printer to Your Computer.
Connecting a Wireless Printer to Your Computer, with the advancement of technology, wireless printers have become increasingly popular due to their convenience and flexibility. Setting up a wireless printer allows you to print documents from multiple devices without the hassle of cables. In this article, we’ll walk you through the process of connecting a wireless printer to your computer, whether you’re using Windows or macOS.
Prepare Your Printer:
- Before you begin, ensure that your wireless printer is turned on and properly set up. Refer to the printer’s manual for instructions on how to connect it to your Wi-Fi network.
Locate Your Printer’s Network Settings:
- On your printer’s control panel, navigate to the network settings or Wi-Fi setup menu. You may need to use the arrow keys and the OK button to navigate through the menu options.
Connect to Wi-Fi Network:
- Select the option to connect your printer to a Wi-Fi network. Your printer will search for available networks in range. Choose your Wi-Fi network from the list and enter the password if prompted.
Print Network Configuration Page:
- Once your printer is connected to the Wi-Fi network, print a network configuration page from the printer’s control panel. This page contains important information, including the printer’s IP address.
Install Printer Software on Computer:
- On your computer, install the printer software and drivers provided by the printer manufacturer. You can usually find the software on the manufacturer’s website or on the installation CD that came with the printer.
Add Printer to Computer:
- Open the Control Panel on Windows or System Preferences on macOS. Navigate to the Devices and Printers (Windows) or Printers and Scanners (macOS) section.
- Click on the option to add a printer. Your computer will search for available printers on the network.
- Select your wireless printer from the list of available devices. If prompted, enter the printer’s IP address or allow your computer to automatically detect the printer.
Complete Installation:
- Follow the on-screen prompts to complete the installation process. Your computer will download and install the necessary drivers for the printer.
Test Print:
- Once the installation is complete, print a test page to ensure that your computer is successfully connected to the wireless printer. If the test page prints successfully, your setup is complete.
Connecting a wireless printer to your computer is a straightforward process that can be completed in just a few simple steps. By following this guide, you can enjoy the convenience of wireless printing and effortlessly print documents from your computer to your wireless printer. If you encounter any issues during the setup process, refer to the printer’s manual or contact the manufacturer’s customer support for assistance.
