Installing a Ceiling Fan
It Feels Like Home!
How to Guide For Installing a Ceiling Fan
Installing a ceiling fan can improve air circulation and add a stylish touch to a room. Here is a step-by-step guide to help you install a ceiling fan safely and efficiently.
Tools and Materials Needed:
- Ceiling fan kit (including fan blades, mounting bracket, and hardware)
- Ladder
- Screwdrivers (Phillips and flat-head)
- Pliers
- Wire cutters/strippers
- Voltage tester
- Electrical tape
- Wire nuts
- Safety glasses
- Dust mask (optional)
- Circuit tester
- Drill and drill bits (if needed)
Step-by-Step Installation Guide:
Turn Off the Power:
- Turn off the power to the existing ceiling light or fan at the circuit breaker box.
- Use a voltage tester to ensure the power is off by testing the wires in the existing electrical box.
Remove the Existing Fixture:
- Remove the existing light fixture or fan by unscrewing the mounting screws and disconnecting the wires. Carefully lower the fixture and set it aside.
Check the Electrical Box:
- Ensure the electrical box is fan-rated to support the weight of the ceiling fan. If not, you may need to install a new fan-rated electrical box.
Install the Mounting Bracket:
- Attach the ceiling fan mounting bracket to the electrical box using the screws provided. Make sure it is securely fastened and level.
Assemble the Ceiling Fan:
- Follow the manufacturer’s instructions to assemble the ceiling fan. This typically includes attaching the downrod, canopy, and motor housing. Leave the fan blades off until the fan is mounted to make the installation easier.
Connect the Wiring:
- With the mounting bracket in place, thread the wires from the ceiling through the canopy and downrod (if applicable).
- Connect the wires from the ceiling fan to the wires in the electrical box. Typically, you will connect the black (or blue) fan wire to the black ceiling wire, the white fan wire to the white ceiling wire, and the green or bare wire to the ground wire.
- Use wire nuts to secure the connections and wrap them with electrical tape for extra safety.
Attach the Fan to the Mounting Bracket:
- Lift the fan motor assembly and attach it to the mounting bracket. Depending on the design, this may involve hooking the fan onto the bracket or aligning it with screw holes and securing it with screws. Ensure it is secure and stable.
Install the Fan Blades:
- Attach the fan blades to the motor housing using the screws provided. Make sure they are securely fastened.
Install the Light Kit (if applicable):
- If your fan includes a light kit, follow the manufacturer’s instructions to attach and wire it. Typically, you will connect the wires from the light kit to the corresponding wires from the fan motor.
- Attach the light kit to the fan housing and secure it with screws.
Attach the Canopy:
- Slide the canopy up to cover the mounting bracket and secure it with screws.
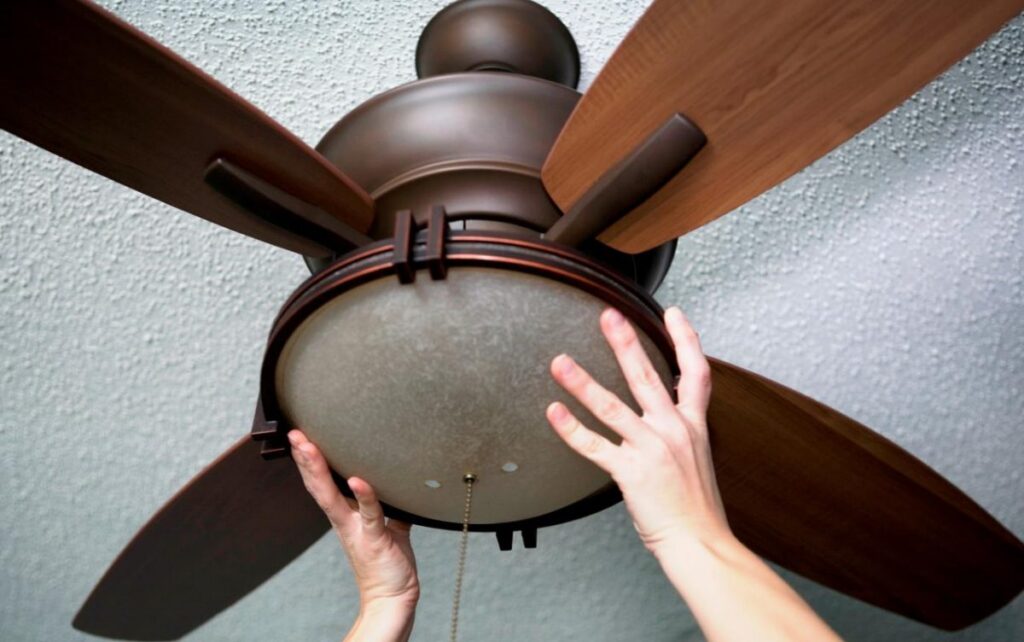
Install the Bulbs and Attach the Light Shades:
- If your fan has a light kit, install the light bulbs and attach any glass shades or covers.
Turn the Power Back On:
- Turn the power back on at the circuit breaker and use the fan’s pull chains or remote control to test its operation.
Tips for a Successful Installation:
- Read the Manual: Always follow the manufacturer’s instructions specific to your ceiling fan model.
- Safety First: Use a sturdy ladder and ensure the power is off before starting any electrical work.
- Balance the Blades: Use a blade balancing kit if the fan wobbles after installation.
- Double-Check Connections: Make sure all electrical connections are secure and properly insulated.
By following these steps, you can install your ceiling fan safely and enjoy improved air circulation and enhanced comfort in your room.