Laying Tile Floors
It Feels Like Home!
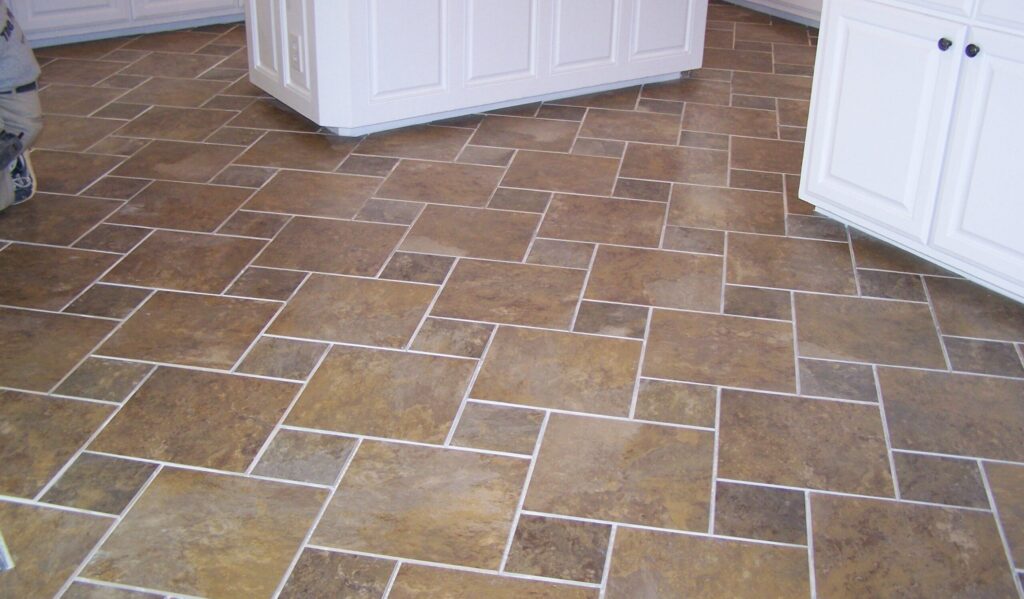
Mastering the Art of Laying Tile Floors: A Step-by-Step Guide
Laying tile floors is a rewarding home improvement project that can enhance the aesthetic appeal and value of any space. Whether you’re renovating a kitchen, bathroom, or entryway, proper tile installation is essential for achieving durable, long-lasting results. In this comprehensive guide, we’ll walk you through the step-by-step process of laying tile floors like a professional.
Gather Materials and Tools:
- Before you begin, gather all the necessary materials and tools for the project. This includes:
- Tiles of your choice
- Tile adhesive or mortar
- Grout
- Spacers
- Tile cutter or wet saw
- Trowel
- Level
- Measuring tape
- Grout float
- Sponge
- Bucket
- Before you begin, gather all the necessary materials and tools for the project. This includes:
Prepare the Subfloor:
- Ensure that the subfloor is clean, dry, and level before laying the tile. Repair any cracks or uneven areas and allow the surface to dry completely. Apply a layer of thin-set mortar or tile adhesive to the subfloor using a trowel, following the manufacturer’s instructions.
Plan Tile Layout:
- Plan the layout of the tiles to ensure a visually appealing design and proper alignment. Use tile spacers to maintain consistent spacing between tiles and create straight grout lines. Dry-fit the tiles in the desired pattern, making any necessary cuts with a tile cutter or wet saw.
Apply Adhesive and Install Tiles:
- Working in small sections, spread a layer of tile adhesive or mortar onto the prepared subfloor using a trowel. Press the tiles firmly into place, using a slight twisting motion to ensure good adhesion. Place tile spacers between each tile to maintain uniform spacing.
Cut Tiles as Needed:
- Use a tile cutter or wet saw to make any necessary cuts for tiles along the edges or around obstacles such as doorways or cabinets. Measure carefully and mark the tiles before cutting to ensure accurate results.
Allow Adhesive to Cure:
- Allow the tile adhesive or mortar to cure according to the manufacturer’s instructions before proceeding to grouting. This typically takes 24 to 48 hours, depending on the product and environmental conditions.
Grout the Tiles:
- Once the adhesive has cured, remove the tile spacers and prepare the grout according to the manufacturer’s instructions. Use a grout float to apply the grout diagonally across the tiles, pressing it into the joints. Remove excess grout with a damp sponge, rinsing frequently.
Clean and Seal Grout:
- After the grout has dried for about 24 hours, use a clean, damp sponge to remove any remaining haze from the tile surface. Allow the grout to cure completely before applying a grout sealer to protect against stains and moisture.
Finishing Touches:
- Once the grout sealer has dried, replace any baseboards or trim that were removed during the installation process. Clean the tile surface with a mild detergent and water to remove any remaining residue, and enjoy your newly tiled floor!
Laying Tile Floors, these step-by-step instructions and taking the time to properly prepare and install the tiles, you can achieve professional-quality results and enjoy a beautiful, durable tile floor in your home. With careful planning and attention to detail, laying tile floors can be a rewarding DIY project that adds value and functionality to any space.