Learning How To Solder
It Feels Like Home!
Learning How To Solder: Mastering the Art of Soldering, A Beginner's Guide.
Learning How To Solder, Soldering is a fundamental skill used in electronics, jewelry making, stained glass art, plumbing, and many other crafts and trades. Whether you’re repairing a circuit board, creating jewelry, or assembling stained glass pieces, knowing how to solder properly is essential. In this beginner’s guide, we’ll walk you through the basics of soldering, including equipment, safety precautions, and step-by-step techniques.
Gather Your Materials:
- Before you begin soldering, gather all the necessary materials and tools:
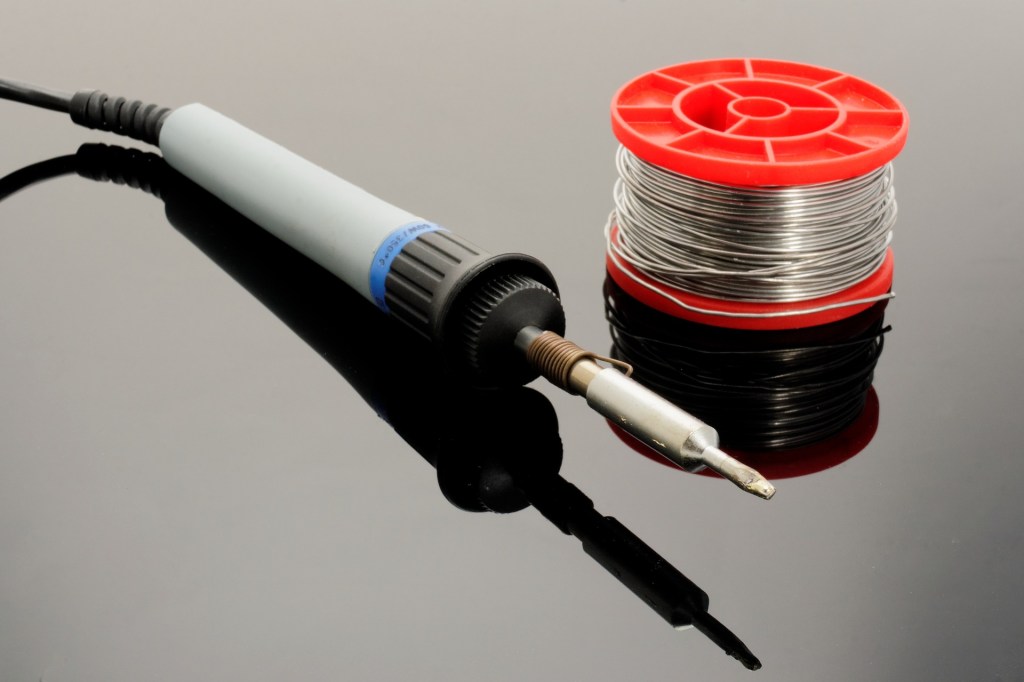
- Soldering iron
- Solder wire (typically a combination of tin and lead or lead-free)
- Flux (to help the solder flow)
- Soldering iron stand
- Wet sponge or brass sponge (for cleaning the soldering iron tip)
- Safety glasses
- Work surface (heat-resistant)
- Ventilation (to prevent inhaling fumes)
- Before you begin soldering, gather all the necessary materials and tools:
Preparation and Safety:
- Set up your work area in a well-ventilated space, away from flammable materials and with plenty of room to work safely. Put on safety glasses to protect your eyes from hot solder and flux fumes. Ensure that your soldering iron is securely placed in its stand when not in use.
Heat Up the Soldering Iron:
- Plug in the soldering iron and allow it to heat up to the appropriate temperature for the type of solder you’re using. Most soldering irons have adjustable temperature settings, so refer to the manufacturer’s instructions for the recommended temperature range.
Tinning the Soldering Iron Tip:
- Before soldering, “tin” the soldering iron tip by melting a small amount of solder onto the tip’s surface. This helps improve heat transfer and ensures a clean solder joint. Wipe any excess solder off the tip with a wet sponge or brass sponge.
Applying Flux:
- Apply a small amount of flux to the area you’ll be soldering. Flux helps clean the metal surfaces, remove oxidation, and promote solder flow. Use a flux pen or brush to apply the flux sparingly to the joint.
Soldering Technique:
- Hold the soldering iron like a pen and touch the tip to the joint where you want to apply solder. Allow the joint to heat up for a few seconds, then touch the solder wire to the heated area. The solder should melt and flow smoothly onto the joint. Avoid touching the solder directly to the soldering iron tip.
Creating the Solder Joint:
- Once the solder has flowed evenly onto the joint, remove the solder wire and soldering iron simultaneously. Hold the soldering iron in place for a few seconds to allow the solder to solidify before moving the joint. The solder joint should be shiny and smooth, with no cold solder joints or excess solder.
Cleaning and Inspection:
- After soldering, inspect the joint for any defects or irregularities. Clean off any excess flux residue with a damp cloth or brush. Allow the solder joint to cool completely before handling or further assembly.
Practice and Patience:
- Soldering is a skill that improves with practice, so don’t be discouraged if your first few attempts aren’t perfect. Take your time, experiment with different techniques, and soon you’ll be soldering like a pro.
Learning how to solder is a valuable skill that opens up a world of possibilities for DIY projects, repairs, and creative endeavors. With the right tools, techniques, and practice, you can confidently tackle soldering tasks with precision and skill. So gather your materials, follow these tips, and dive into the world of soldering with confidence and enthusiasm.