Refinishing Kitchen Cabinets
It Feels Like Home!
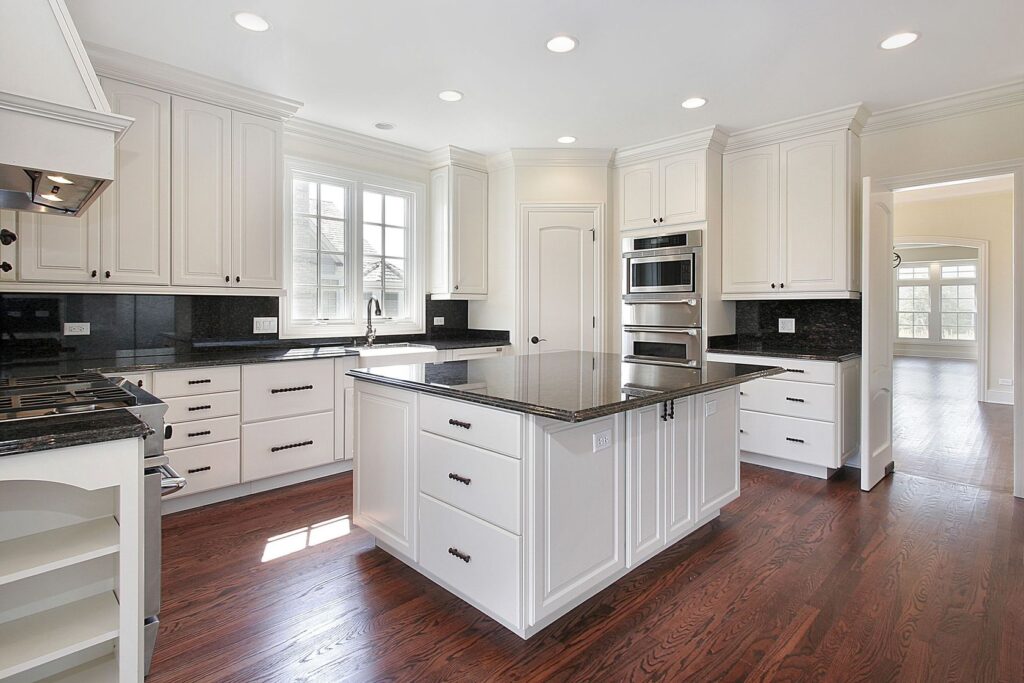
Revitalize Your Kitchen: Refinishing Kitchen Cabinets Like a Pro.
Refinishing kitchen cabinets is a cost-effective way to breathe new life into your kitchen and enhance its aesthetic appeal without the expense and hassle of a full renovation. Whether your cabinets are worn, outdated, or simply in need of a refresh, refinishing allows you to transform them into stylish focal points that elevate the entire room’s look and feel. With the right tools, materials, and techniques, you can achieve professional-quality results and create a kitchen you’ll love for years to come. Here’s a step-by-step guide to refinishing kitchen cabinets like a pro.
Assess Your Cabinets:
- Evaluate the condition of your cabinets to determine if they are suitable candidates for refinishing. Consider factors such as the material, construction, and existing finish.
- Inspect for any damage, such as cracks, dents, or loose hinges, that may need to be repaired before refinishing.
Plan Your Approach:
- Decide whether you’ll be refinishing the cabinets in place or removing them for off-site refinishing. Each approach has its pros and cons, depending on your skill level, available space, and preference.
- Choose a refinishing method based on the desired outcome, whether it’s painting, staining, or applying a new finish.
Gather Your Materials and Tools:
- Collect all the necessary materials and tools for refinishing cabinets, including sandpaper, wood filler, paint or stain, primer, brushes, rollers, and protective gear.
- Ensure you have adequate ventilation and workspace to safely and effectively complete the refinishing process.
Preparation is Key:
- Start by removing all hardware, such as handles, hinges, and knobs, from the cabinets. Label each piece to make reinstallation easier later.
- Thoroughly clean the cabinets to remove grease, grime, and dirt buildup using a mild detergent and water solution. Allow them to dry completely before proceeding.
Sand and Repair:
- Use fine-grit sandpaper to lightly sand the cabinet surfaces, removing the existing finish and creating a smooth, uniform texture for paint or stain to adhere to.
- Fill any holes, scratches, or imperfections with wood filler, and sand again once dry to ensure a seamless surface.
Apply Primer and Paint or Stain:
- Apply a coat of primer to the cabinet surfaces to promote adhesion and provide a uniform base for the paint or stain.
- Once the primer is dry, apply multiple thin coats of paint or stain, allowing adequate drying time between coats. Use a brush or roller for smooth, even coverage.
Finish and Protect:
- Once the final coat of paint or stain has dried completely, apply a clear topcoat or sealer to protect the cabinets and enhance their durability and longevity.
- Choose a finish that suits your desired look and maintenance preferences, whether it’s matte, satin, or high gloss.
Reassemble and Reinstall:
- Once the cabinets are fully dry and cured, reattach the hardware and reinstall them in their original location. Take care to ensure proper alignment and functionality of doors and drawers.
Enjoy Your Newly Refinished Cabinets:
- Step back and admire your handiwork as you enjoy the fresh, updated look of your kitchen cabinets. With proper care and maintenance, they’ll continue to enhance your kitchen for years to come.
Refinishing kitchen cabinets is a rewarding DIY project that can dramatically transform the look and feel of your kitchen with minimal time, effort, and expense. By following these expert tips and techniques, you can achieve professional-quality results and create a kitchen you’ll be proud to show off to family and friends. So roll up your sleeves, unleash your creativity, and embark on the journey to revitalizing your kitchen with beautifully refinished cabinets.